DIY Pallet Laundry Basket Holder
This post may contain affiliate links. Please read our full disclosure policy.
This DIY Pallet Laundry Shelf is easy to put together and also makes a great addition to any bathroom or laundry room!! Having kids or not having kids, every household has that dirty l word in their house, laundry. Finding a laundry system that works for your house is essential, and sometimes that means a lot of laundry baskets.

This shop has been compensated by Collective Bias, Inc. and its advertiser. All opinions are mine alone. #FreeToBe #CollectiveBias (I have included affiliate links to products I love. As an Amazon Associate, I earn from qualifying purchases.) In addition, this post contains affiliate links that will make me a small commission when used to order online.
Laundry and dirty laundry! It is one of those facts of life that never seem to go away. As my kids have gotten older, they have taken on more chores, and finding ways to help them be successful is essential. My girlfriend has three boys getting older, and she has been brainstorming ways to make collecting laundry easier for them to help with the chore. What better way to help them than a basket to be responsible for and keep all three baskets grouped??
Now her plan is for a DIY pallet laundry shelf started; she has a smaller bathroom, so fitting this in was the perfect solution!! The boys can keep their clothes collected and then put them away after mom runs the laundry, making it a win for everyone.
DIY Pallet Laundry Shelf Supplies
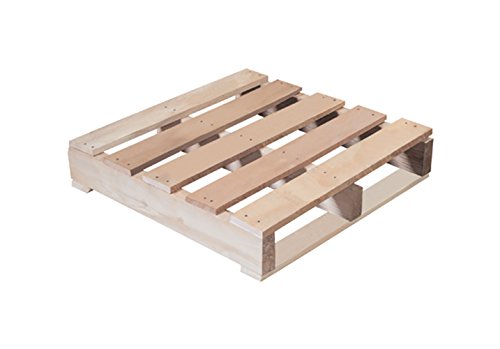
Pallets
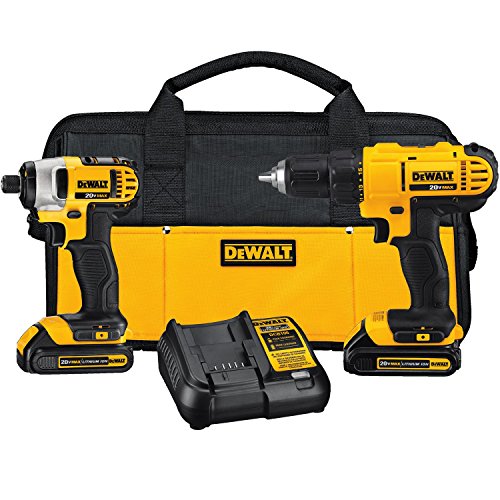
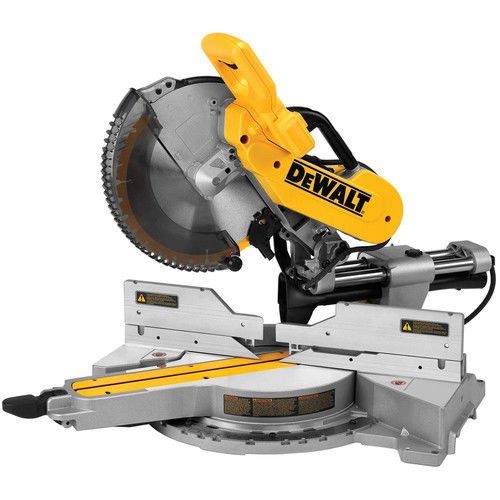
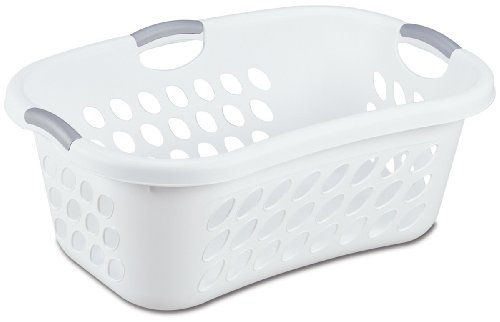
DEWALT DCK240C2 20v Lithium Drill Driver/Impact Combo Kit (1.3Ah) DEWALT DWS779 12Sterilite Hip Hold Laundry Basket, White Basket w/ Titanium Inserts, 6-Pack
Pencil
Save this post!
Love this post and want it delivered right to your inbox within minutes? Just fill your email address in the form below and click save to get it plus more from CookEatGo!
How To Make A Laundry Basket Holder
Now, this will vary greatly depending on your needs and space. First, decide if you want to make the shelves wide or have more depth. My girlfriend decided that she needed them to be thinner against the wall, so we made the shelves wide.
Then, you build around the size of the baskets you pick out. The basic structure will be the same, but there won’t be exact measurements due to basket sizing.
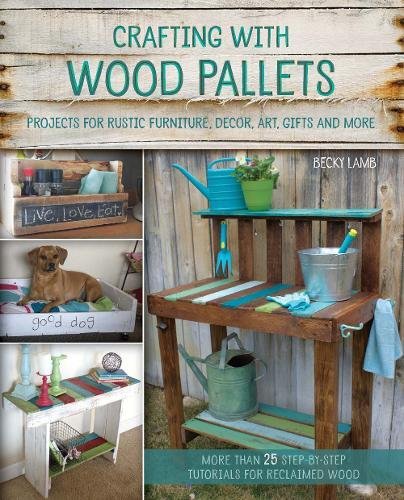
RetailSource 24Pallet Buster PalletsCrafting with Wood Pallets
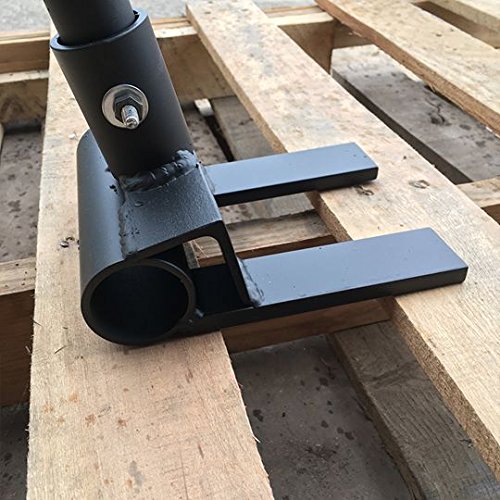
The worst part was separating the pallets; we used a hammer and crowbar to pry ours. I suggest spreading this task out; it was very labor-intensive to get it done.
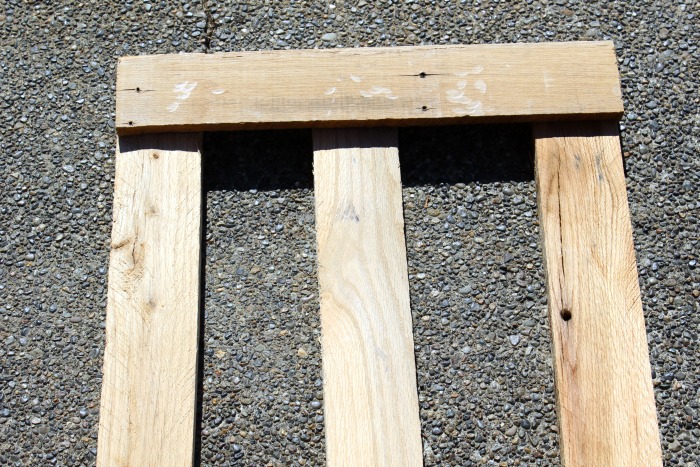
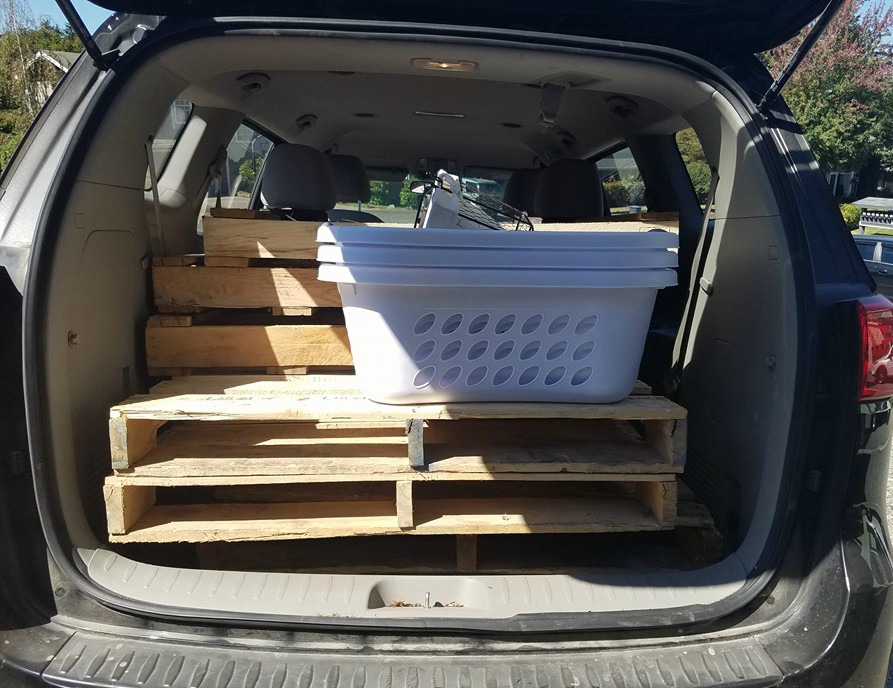
We started by deciding how the side frames would look. We opted to have three panels to ensure it had support and then attached a pallet board cut to the size we wanted to the sides on the top and the bottom.
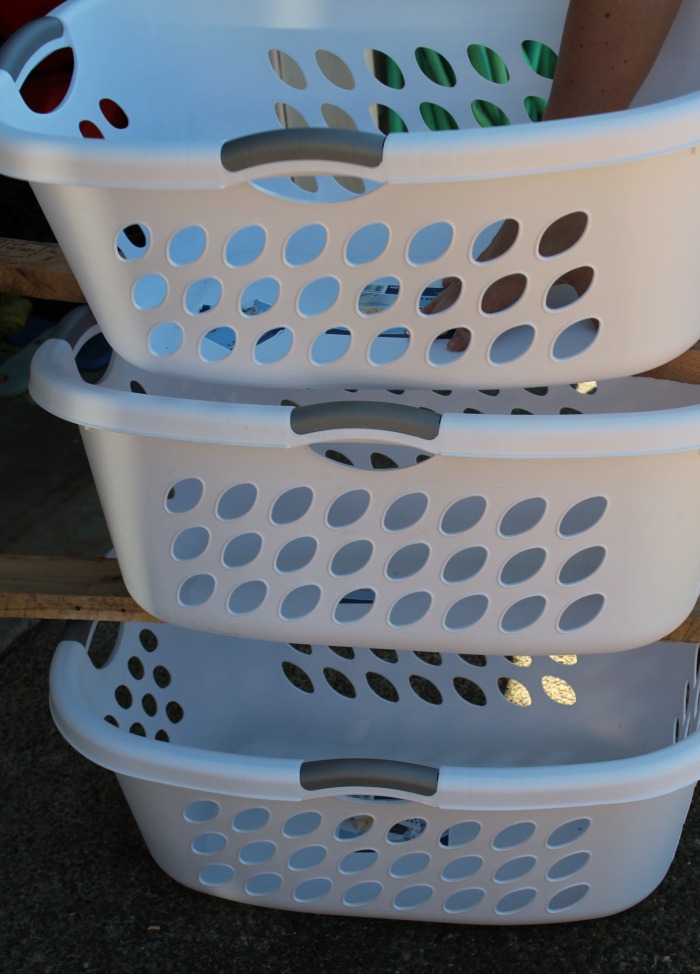
Next came the placing of the baskets.
We used the thicker pallet boards for the cross boards on the back. Also we used the thicker pallet boards for the sides’ cross boards on the top and bottom.
Once we assembled the sides, we stood them to decide how long we needed the backboards and where to place one board for the laundry baskets to slide onto.
We used some of the thicker pallet boards for the cross boards on the back.
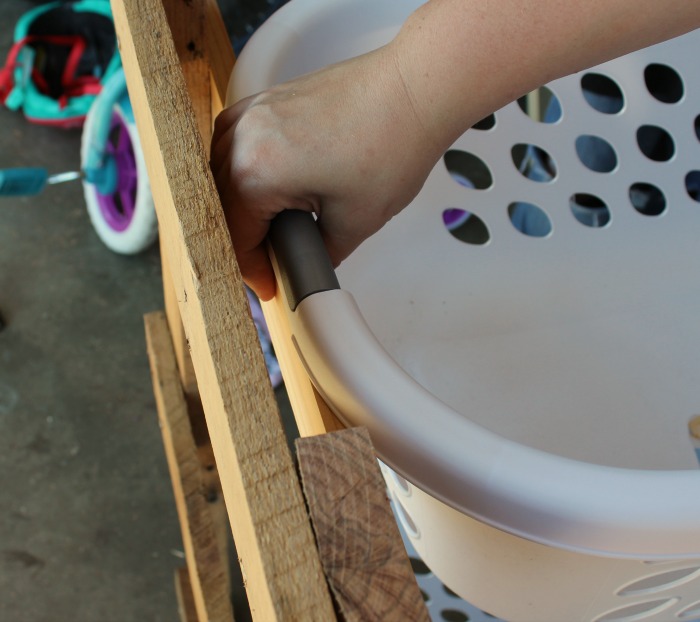
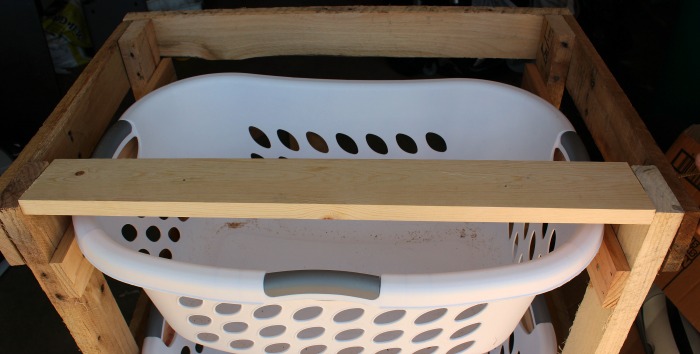
We cut the boards to size then drilled the panels together for the baskets to hang on.
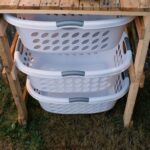
Then we opted to have one basket sitting on the shelf with two on rails, you can change yours to have all three laundry baskets slide, but since the frame needed to be shorter, this was the solution.
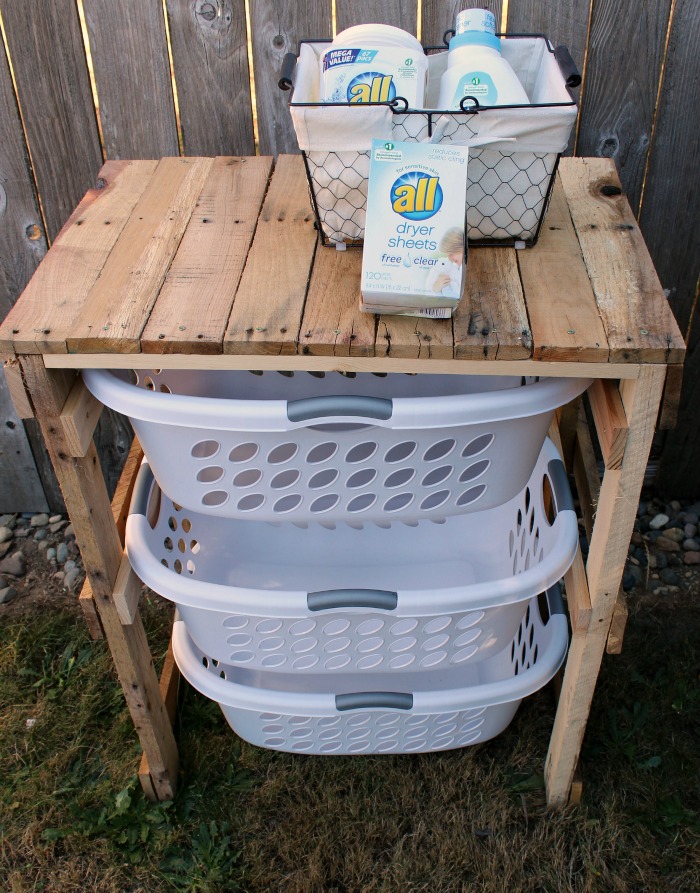
Once you have the sides and the supports assembled, next comes the top. We did a cross board on the top to give us a place to attach pallet boards to make a top.
The pallets make a beautiful top; we played with placing imperfections in the wood and then cutting them to size.

To attach, we drilled a screw in each end to the top of the shelf unit, making the unit more solid.
Isn’t that an awesome top? I love how this project turned out!! Piecing and putting it together took less than an hour; the worst part was separating the pallets!!
Alternative Supplies For DIY Laundry Basket Organizer
- Plywood cut to sizes needed
- Wood Glue to secure in screws
- Clamps to hold pieces together as you drill them
- Trim to make it look pretty
- Nails in place of screws
- Wood Stain to protect the
DIY Pallet Laundry Shelf
Ingredients
- Charged drill
- Wood Screws
- Pallets
- Hammer/crowbar
- Miter saw or another saw
- Pencil
- Tape measure
- Three hip baskets
Instructions
- First, decide if you want to make the shelves wide or have more depth.
- Build around the size of the baskets you pick out
- The basic structure will be the same, but there won't be the exact measurements due to basket sizing.
- The worst part of this is taking the pallets apart; we used a hammer and crowbar to pry ours apart.
- We opted to have three panels to ensure it had support and then attached a pallet board cut to the size we wanted to the sides on the top and the bottom.
- Next came the placing of the baskets.
- We used the thicker pallet boards for the cross boards on the back. We also used the thicker pallet boards for the cross boards on the top and bottom of the sides.
- Once we had the sides assembled, we stood them to decide how long we needed the backboards and where to place one board for the laundry baskets to slide onto.
- We cut the boards to size then drilled the panels together for the baskets to hang on.
- Once you have the sides and the supports assembled, next comes the top.
- We did a cross board on the top to give us a place to attach pallet boards to make a top.
- Play with how to place imperfections in the wood and then cut them to size.
- To attach, we drilled a screw in each end to the top of the shelf unit, but it also made the unit more solid.
- Isn’t that an awesome top? I love how this project turned out!! Piecing it and putting it together took less than an hour; the worst part was separating the pallets!!


Please let me know how to print the instructions for this project, Thanks, Sue